Move the HUD buttons
The Tailor pins a button where a thumb will find it. Moving one takes a drag and a short wait.
The quest
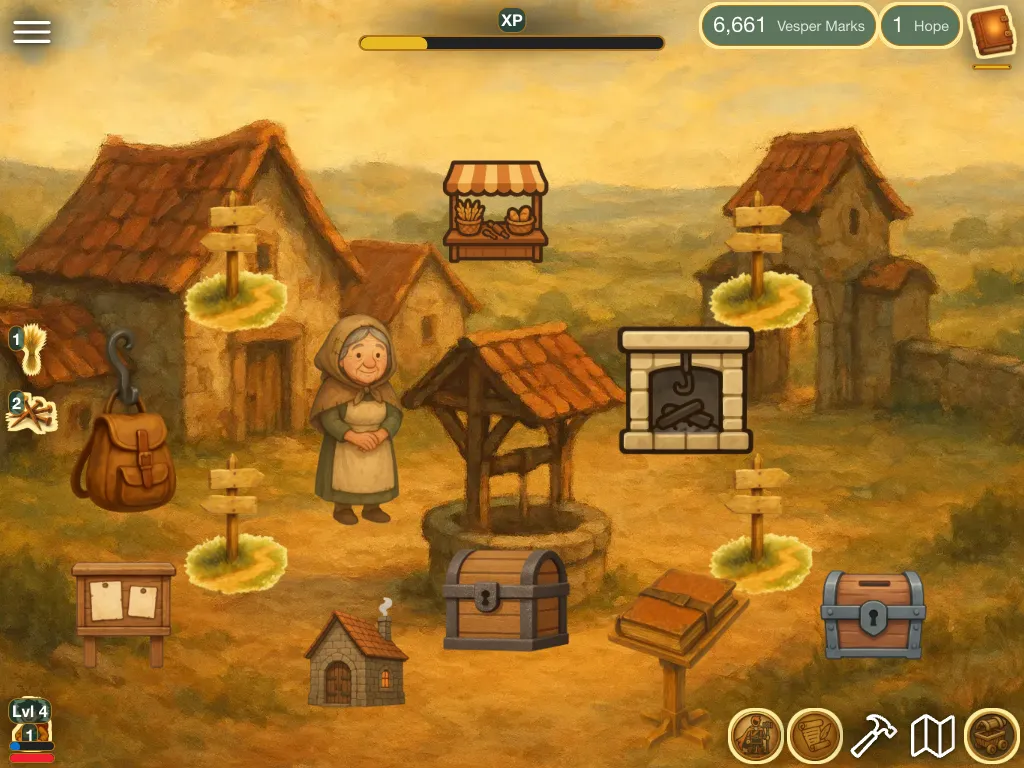
By the end, the Shop button has moved from the bottom left of the screen to the bottom right, where it sits last of five buttons. This is how Vespera's HUD is arranged.
You'll need
- A game with a HUD button to move. Here that is the Shop button, bottom left.
- Edit Mode open on the game. See The HUD.
Steps
-
Play your game, open the game menu and click Edit this Game.
-
In the bar at the top, pick HUD. The panel Add to the screen opens, with the tabs Buttons and Counters. Eight dashed zones show the eight corners and edges of the screen, each with its name, such as TOP LEFT.
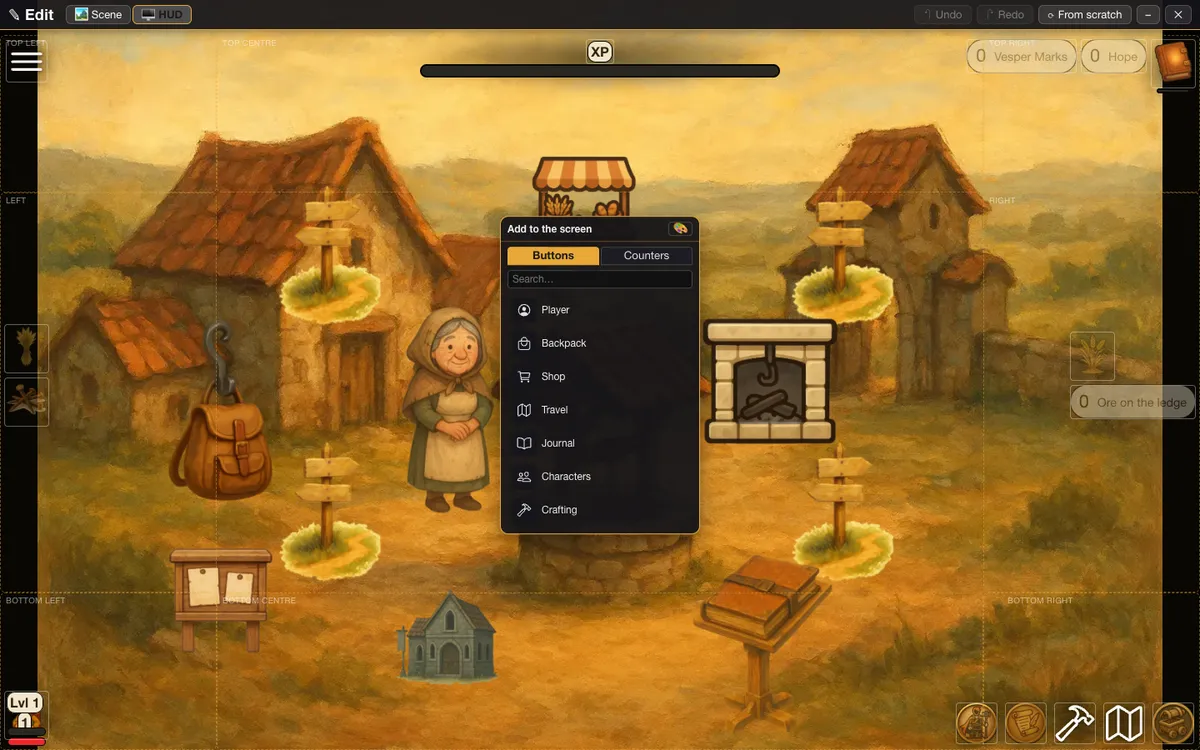
The HUD surface: the palette and the eight zones. -
To add a button, open the Buttons tab and drag an entry onto a zone. While you drag, an empty zone shows Drop here.
-
To move a button that is already on the screen, drag it from where it is to another zone. Here, drag the Shop button from the bottom left onto the bottom right zone.
-
If a Heads up box appears, click CONTINUE. It warns that editing the game refreshes your current game, and it comes up on the first change of a session.
-
Wait a few seconds. The button lands in the new corner, usually after the buttons already there. In a corner whose order was changed before, it can land in front instead; step 7 puts it where you want it.
-
To change the order inside a corner, drag a button to another spot in the same corner.
-
Click a button to open its box. It has a Size slider and a Remove from screen button. A button also has an Image row with Choose… and Use icon.
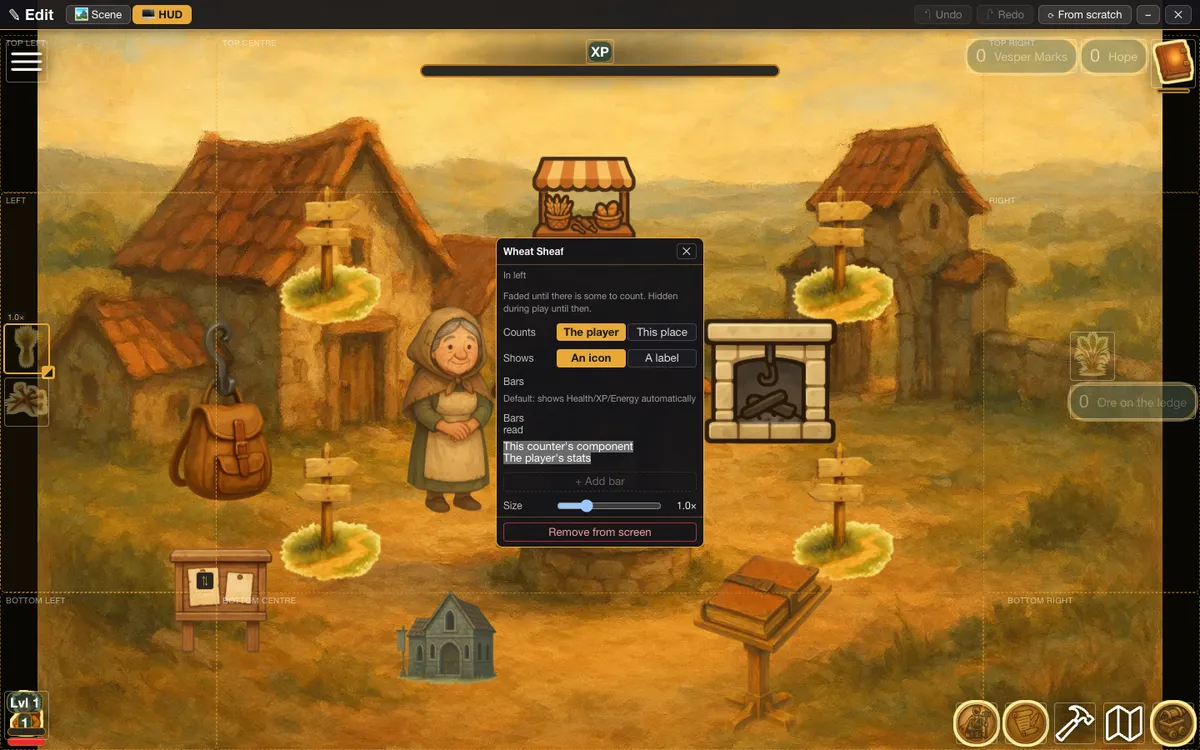
The box for a counter. A button's box has the same Size and Remove from screen, and adds an Image row. -
To stack a corner as a column instead of a row, hover over it. A small toggle shows in its inner corner. Click it.
-
To take a change back, click Undo at the top. Redo brings it back again.
Close the box with the ✕
The Escape key does not close an item's box. Use the ✕ in its corner.
A crowded corner runs off the screen
Nothing stops a corner from taking more items than fit. Edit Mode warns when one holds more than six.
Try it
Close Edit Mode and play. Look in the bottom right: the Shop sits last, after the Backpack, the Journal, Crafting and Travel. Press it. The Shop opens as before.
Going further
- Stack a corner as a column. Vespera's middle left and middle right stack down. See The HUD.
- Give a button its own picture. See Backpack button.
- Dress the screen. See Colours and shapes.