Add components to a scene
A place is only a painting until someone puts something in it. Here is how a Maker sets the first stone.
The quest
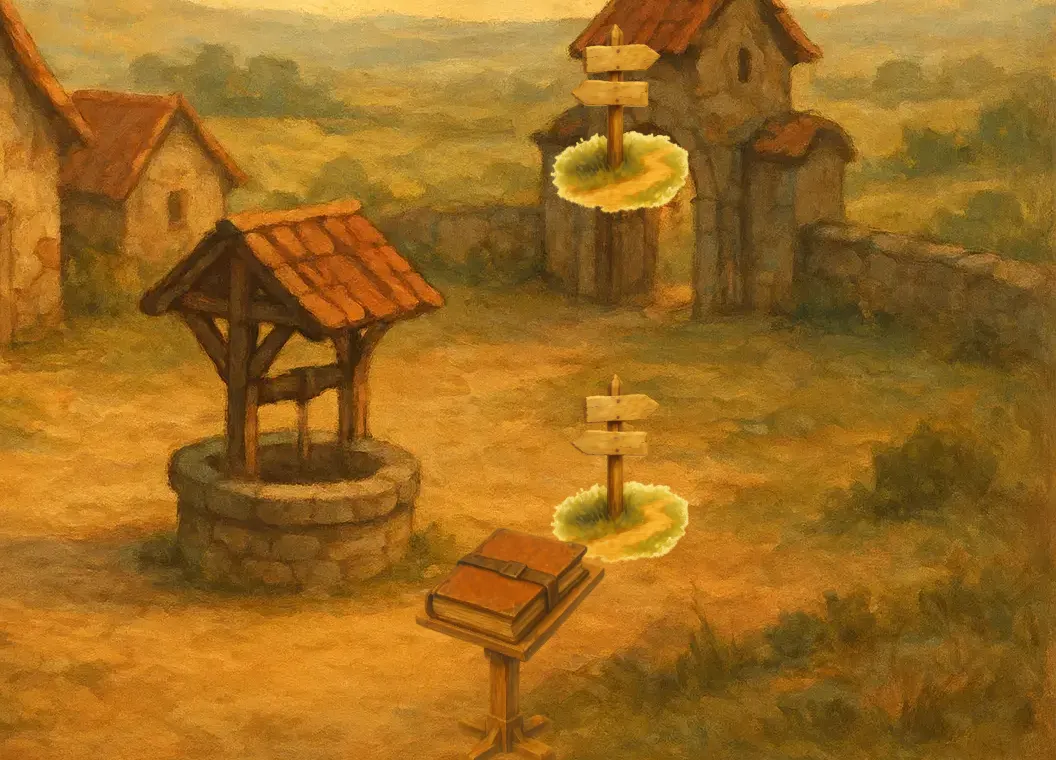
By the end, the Ledger Lectern stands in The Last Outpost, and every new game starts with it there.
You'll need
- A game you can edit.
- A location with a scene. See the Atlas for how locations and scenes fit together.
- Optional: a component you made earlier. This guide makes a new piece of Scenery, so you can start with nothing.
Steps
-
Play your game and travel to the location where the item should stand.
-
Open the game menu and click Edit this Game.
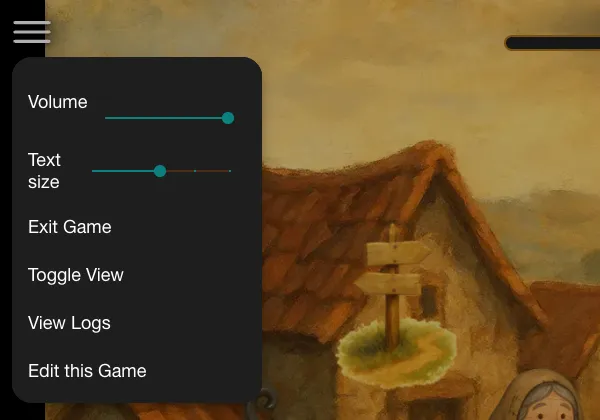
The game menu. Edit this Game is the last entry. -
In the bar at the top, check that Scene is selected.
-
In the Add Components panel, click + Create Component.
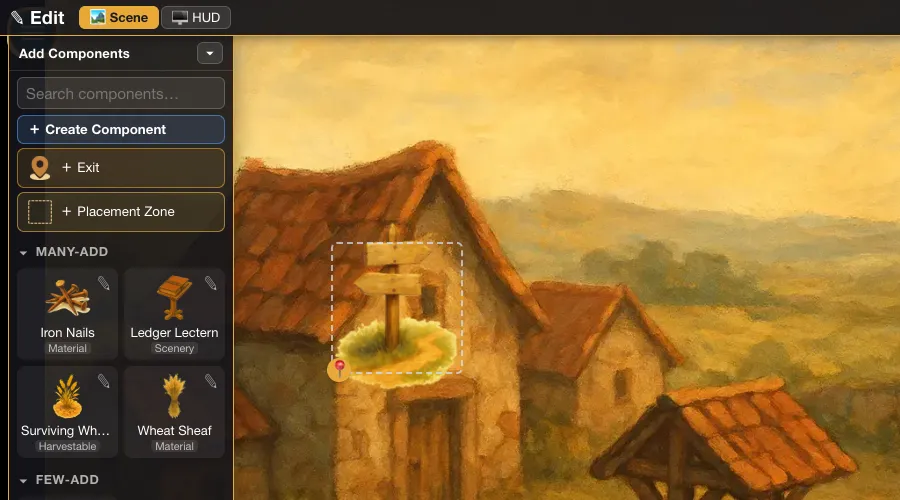
Edit Mode. + Create Component sits under the search box in Add Components. -
In Create Component, choose Scenery.
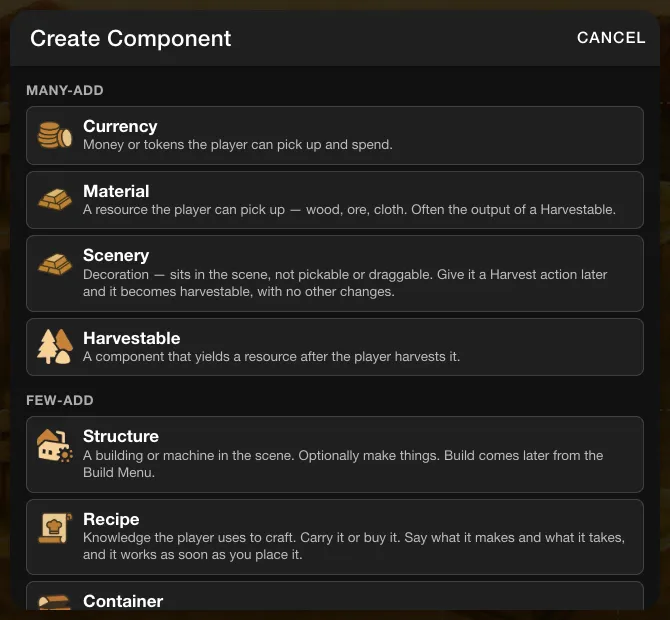
The Create Component dialog. Choose Scenery. -
In the form New Scenery, type a Name, for example "Ledger Lectern".
-
Type a Description Shown Player, for example "Where the Ledger of Making rests between journeys."
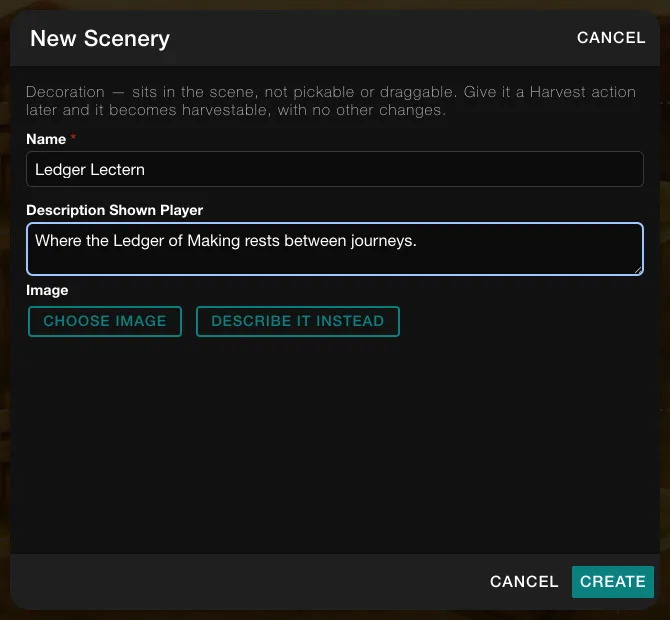
The New Scenery form, filled in as in steps 6 and 7. -
Click Create. The new component appears in Add Components. If the list is long, type its name in Search components….
-
Drag the component from Add Components onto the scene, where you want it to stand.
-
If a Heads up box asks whether to continue, click Continue.
-
If it is not quite right, drag the item again to move it, or click Undo.
-
Click ✕ ("Exit edit mode") to leave Edit Mode.
Core Loop card
The first time you enter Edit Mode in a game, a Core Loop card can offer ready-made example content. Continue With Blank Game closes it and leaves your game as it is.
Good to know
An item that has no position in the scene is not drawn there. It lands in the Unplaced Items tray instead. Dropping the component onto the scene (step 9) is what gives it a position.
Try it
Start a fresh game and look for the item. In Edit Mode, click From scratch (its tooltip reads "Discard game state and start fresh") and confirm with Start fresh. Starting items are created when a game starts, so the fresh game begins with the Ledger Lectern in The Last Outpost.
Going further
- Give it a picture. The form in step 6 also offers Choose image and Describe it instead, so the item can have its own art.
- Make it do something. Scenery is a Harvestable with no Harvest. Add one and players can gather from it. See Harvest.
- Leave a slot for a building. Set a placed item's starting count to 0. See Give a place its starting items.
- Place a building instead. Create a Structure in step 5 and place it the same way. See Structure.